How to provision your app
-
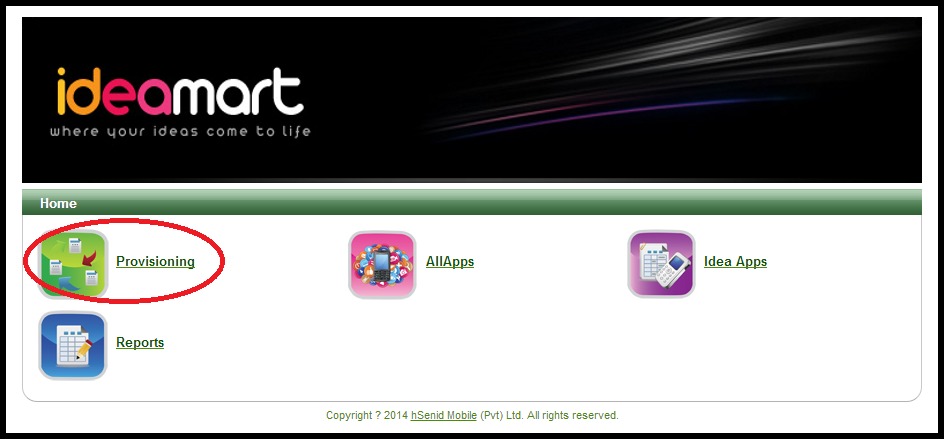
Click on the Provisioning icon as follows.
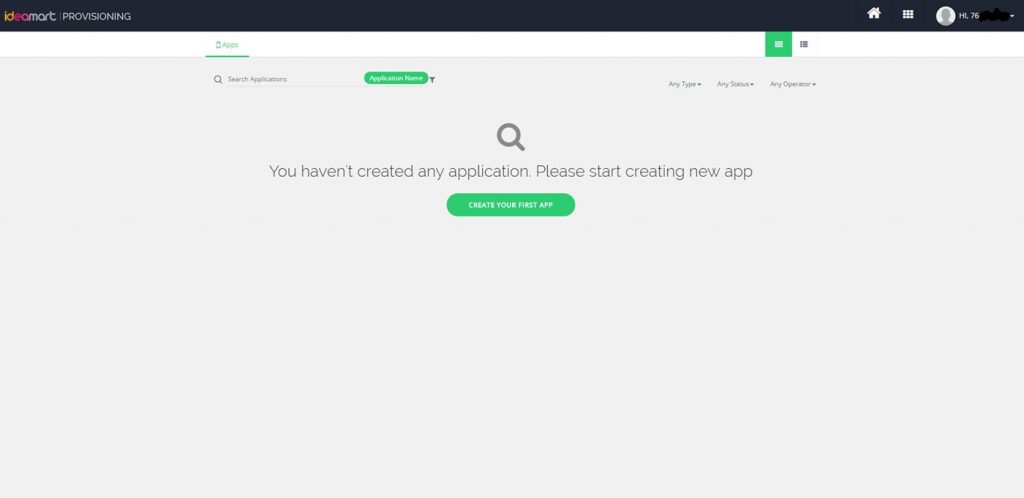
2. Click on Create Application.
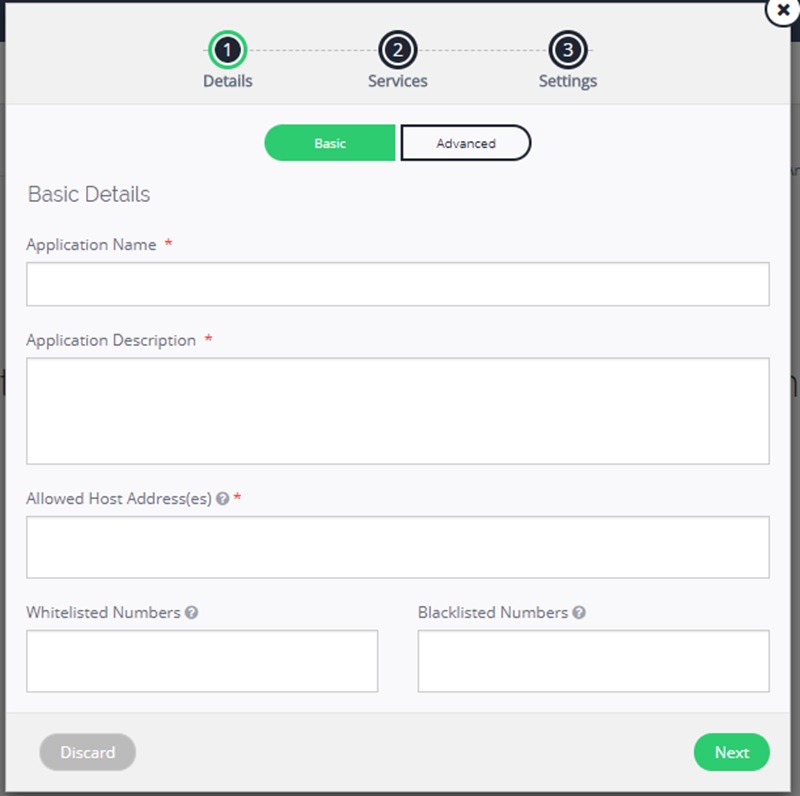
3. Fill in the form which comes in the popup page. The following are the information on the variables:
Under Basic page: –
Application Name: The Name of your desired application.
Application Description: Description of your desired application, on what the application is about.
Allowed Host Address: A valid host address your application might be hosted. (hover over “?” beside Allowed Host Address for further details)
Whitelisted Numbers: Mobile numbers that are used test the application. (hover over “?” beside Whitelisted for further details)
Blacklisted Numbers: Mobile numbers that you don’t want to access your application. These numbers can’t access your application if it is listed here.
You can empty what you have filled by pressing Discard button.
You can save the details filled by pressing the Save Draft button and access it later.
The following is a sample filled form:
4. Press next on the form which will land on the following template
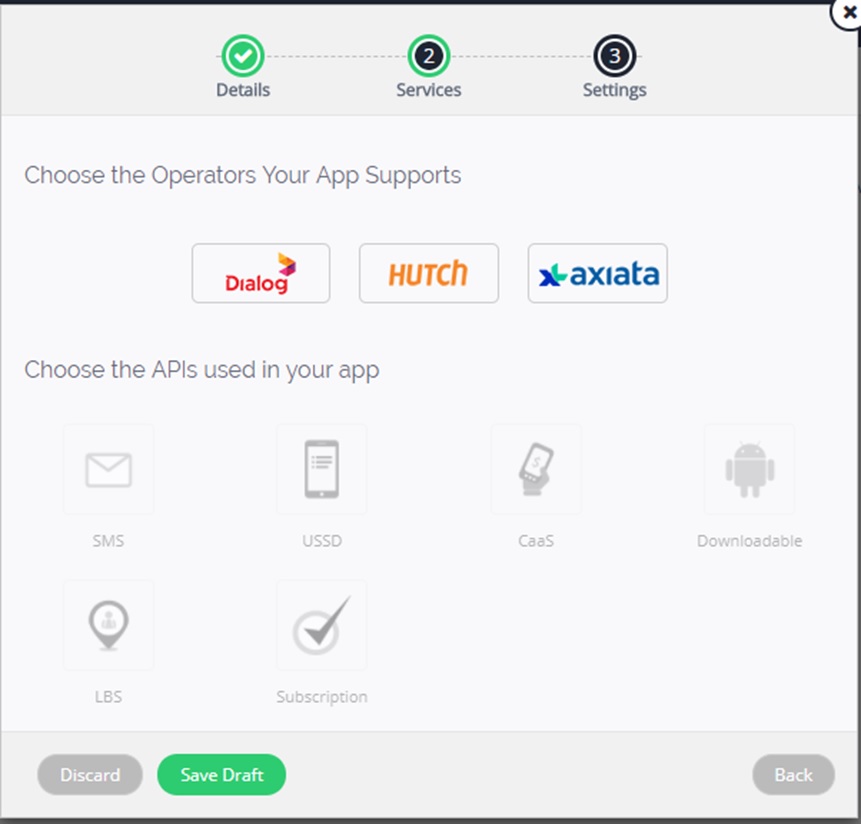
Select a desired Operator from three Operators provided.
Dialog is Mandatory as it is the prime provider of APIS.
Dialog: As dialog is Mandatory it has to be selected. All the API will be available.
Hutch: Hutch is a partnering service provider. So, All the API is not assigned to it. The omitted services are Downloadable and LBS.
Axiata: XL does not need Dialog as prerequisite. But, the API are restricted to SMS, USSD, CaaS and Subscription.
*XL users does not need Dialog logins.
In-order to go to next page you have to select one of the API.
SMS: it is the API for sending and receiving SMS.
USSD: It is the API for sending and receiving USSD.
CaaS: can make payment through mobile cash.
Downloadable: can upload an APK to dialog store and users can download that.
LBS: Location Based Services.
Subscription: this API is for Subscribing and unsubscription.
5. SMS Configuration
SMS-Page1
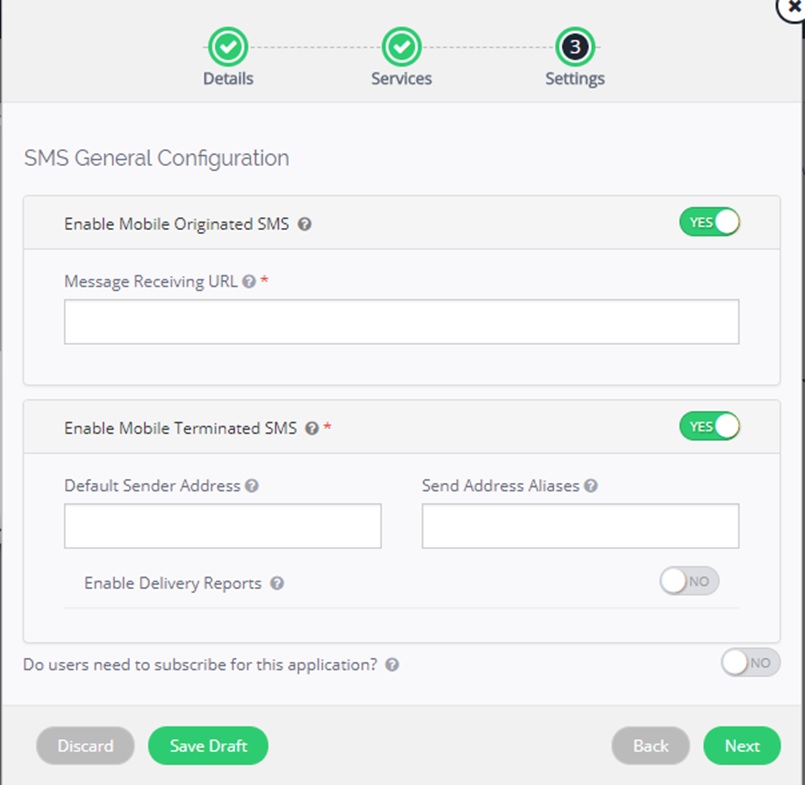
Message Receiving URL: The landing URL which you want the users’ message to be.
Default Sender Address: The port number you want to send under.
Send Address Aliases: The name you want to send under.
Delivery Report URL: The URL you want your reports to land.
SMS-page2
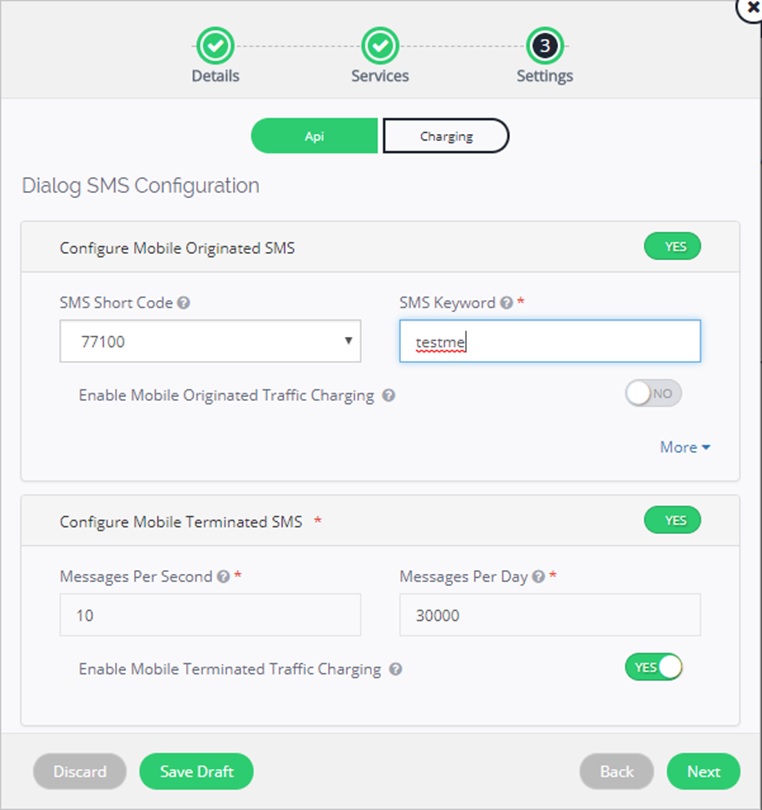
SMS Short Code: Short code the users will be sending short messages.
SMS keyword: unique keyword to identify your application.
Press next and it will land on the following page:
SMS-page3
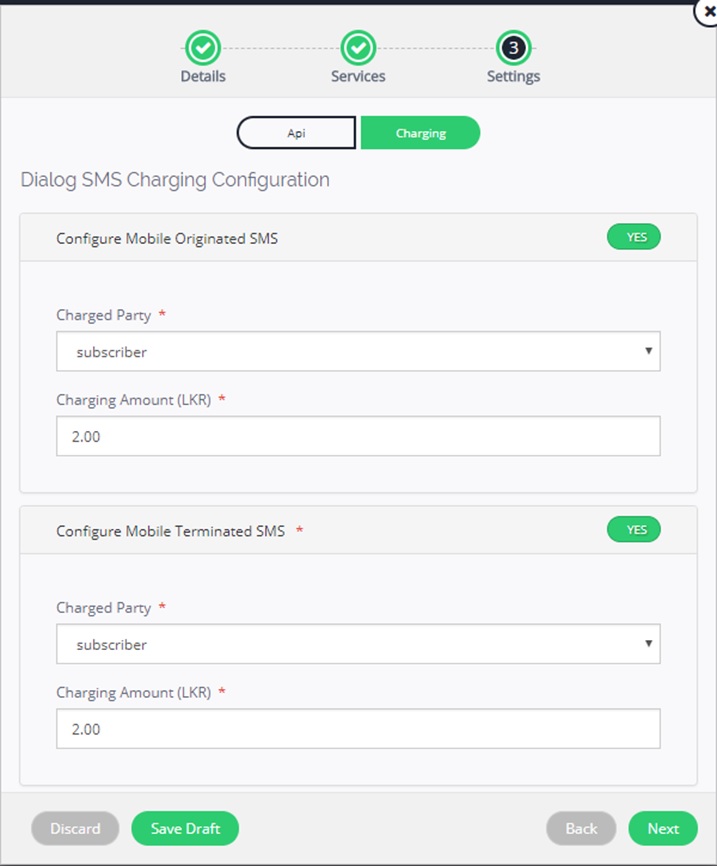
Charged Party: The party which will be get charged upon usage.
Charging Amount: The amount charged from the charging party.
Mobile originated: user sends a message to the app.
Mobile Terminated: apps send a message to the app.
Continue by pressing next. That will complete the SMS configuration.
6. USSD configuration
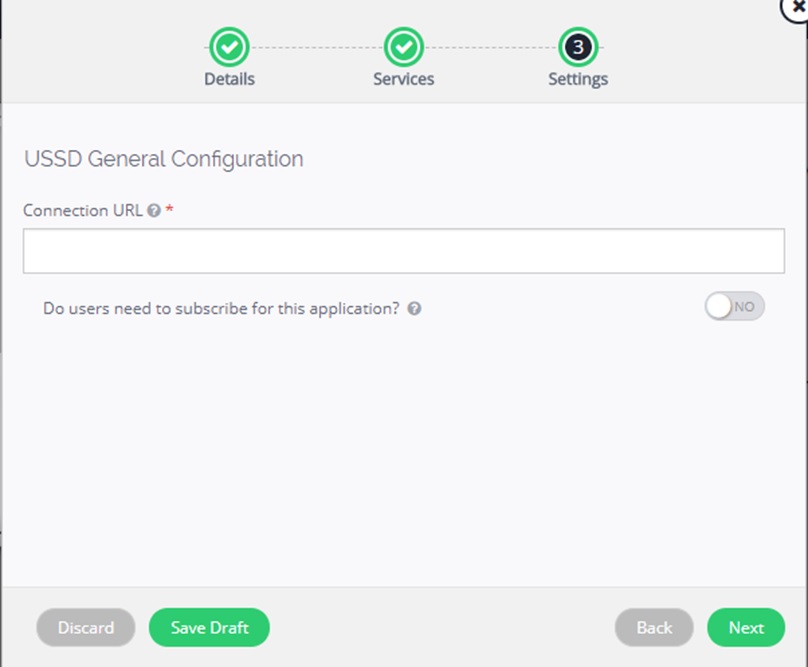
Connection URL: landing URL which you want the users’ USSD to be.
Continue on by pressing next.
USSD-page2
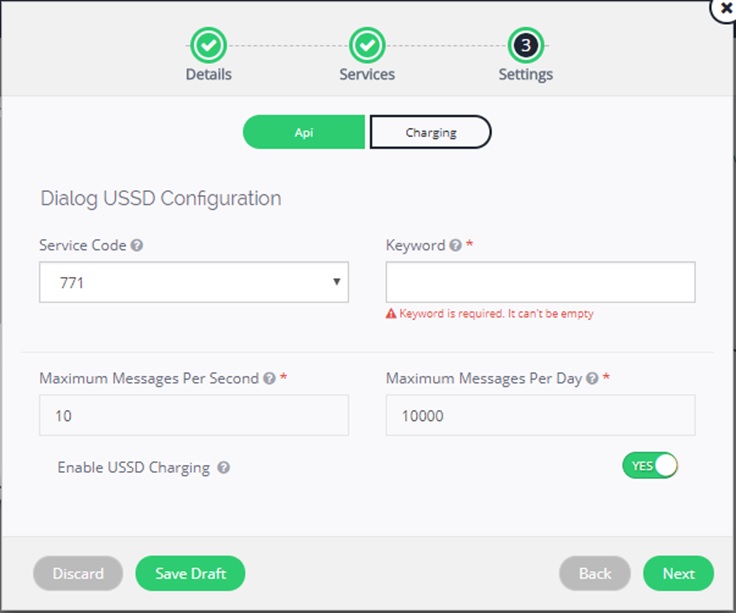
Service Code: The Short Code the USSD would be sent to.
Key Word: The Short number you would send along with the Service Code.
Continue by pressing next.
USSD-page 3

Charged Party: The side which will be get charged.
Charging amount: The amount charged from the charging party.
Press next to finish the USSD configuration and proceed to CaaS.
7. CaaS
CaaS-page1
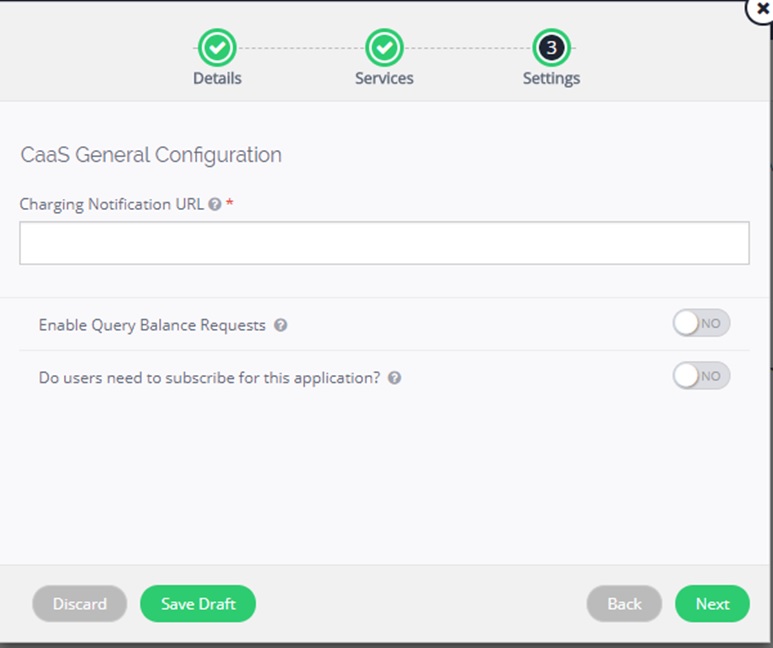
Charging Notification URL: After the charging is been completed a notification will be sent to this URL.
Press next to continue.
CaaS-Page 2
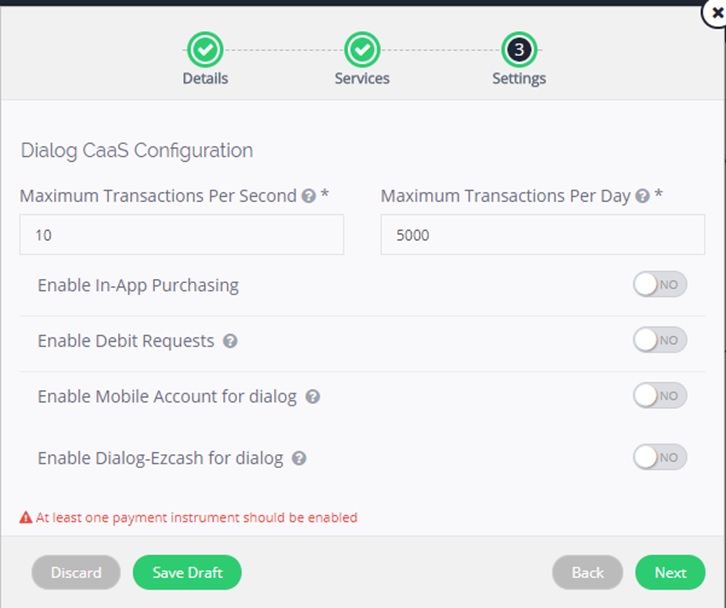
At least one payment instrument has to be selected apart from In-App Purchasing and Debit Requests.
Debit Requests: To charge the users for your service.
Select one of the rest or both to be enable to continue as either dialog mobile connect or EZ-cash is mandatory.
That will complete the CaaS configuration.
8. Downloadable Configuration
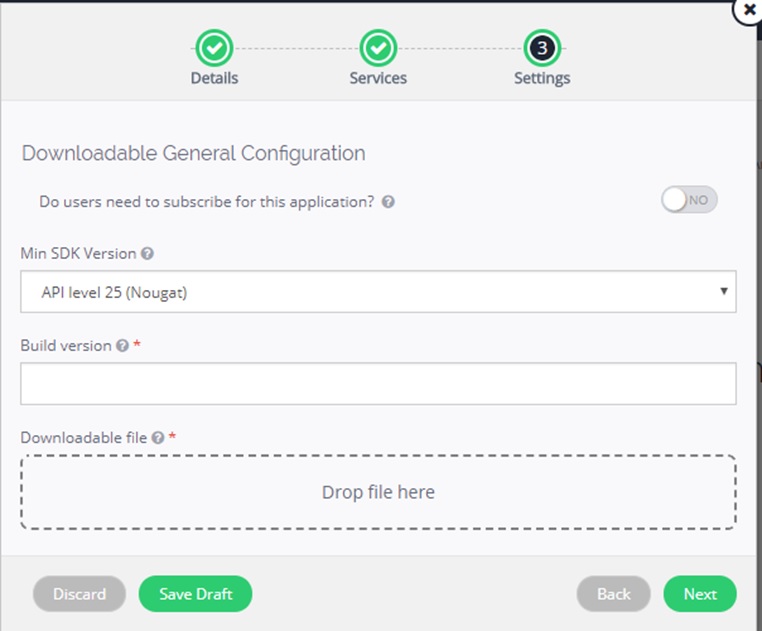
Min SDK Version: this is the minimum SDK version needed to run the APK you provide.
Build Version: The APK’s Build Version.
Input the Downloadable APK you desire.
Press next to go ahead.
Downloadable-page 2
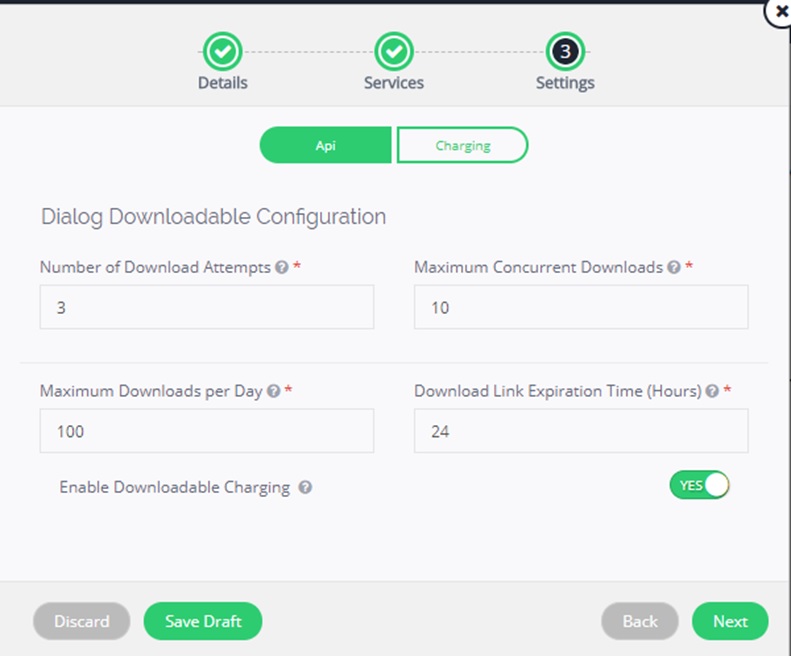
Number of Downloadable Attempts: maximum a user can try to download your APK.
Number of Concurrent Downloads: Maximum simultaneous APK is download.
Maximum Downloads per Day: Maximum downloads per day of your APK
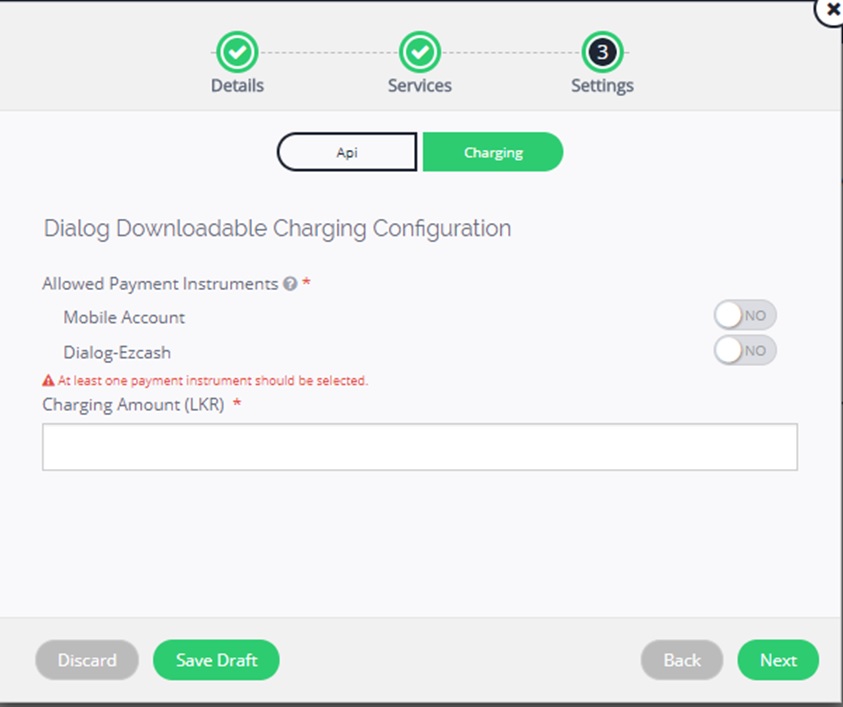
Select one of the payment instruments as it is mandatory and also mention the amount you want to be charged.
That would complete the configuration for Downloadable.
9 LBS configuration
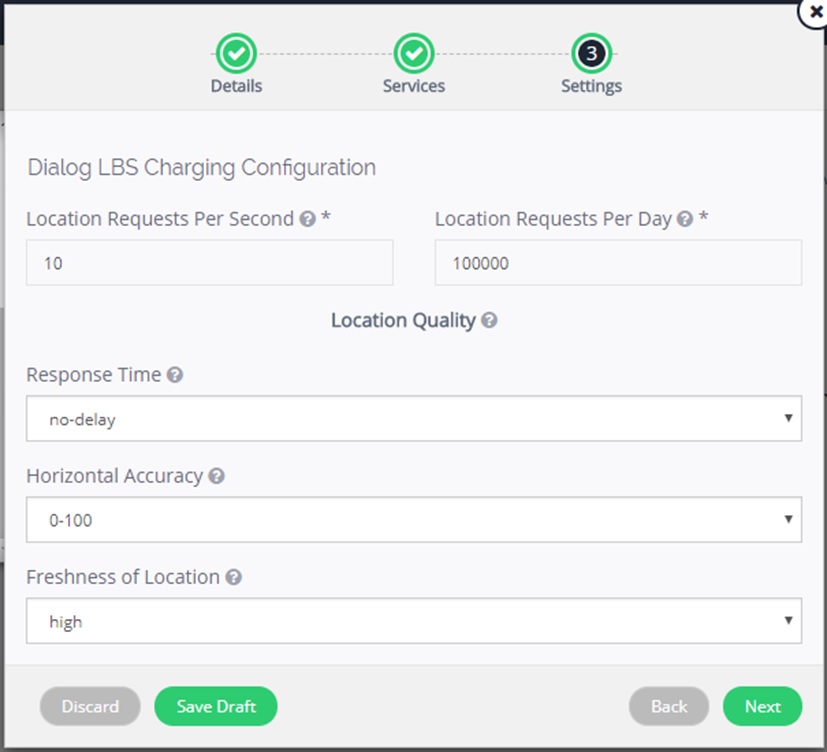
Response Time: you can select how your LBS response time should be.
Horizontal Accuracy: didn’t understand
Freshness of Location: Location freshness provided.
That will wrap up the configuration of LBS.
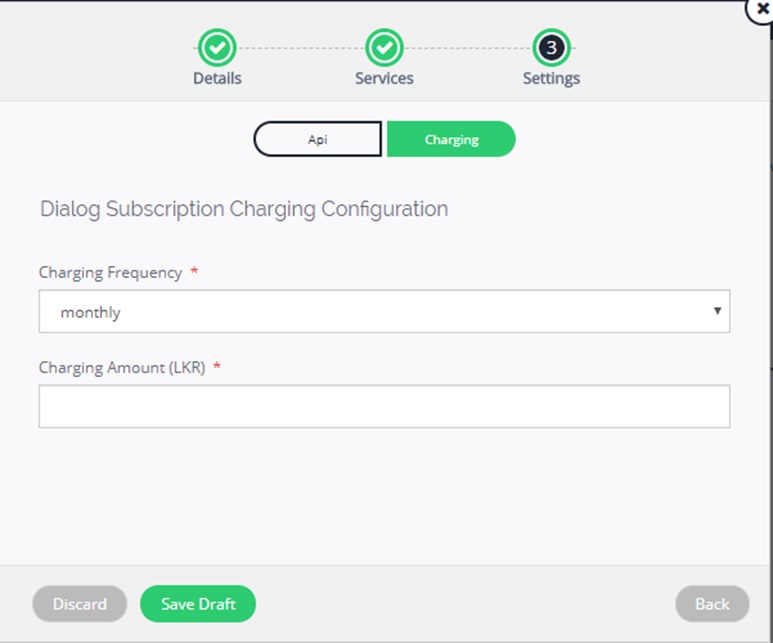
10. Subscription configuration

Subscription Response Message: This content will be the message sent to the subscriber upon subscription.
Unsubscription Response Message: This content will be the message sent to the subscriber upon unsubscription.
Subscription Notification URL: The URL you want to set for subscription.
Press next to continue.
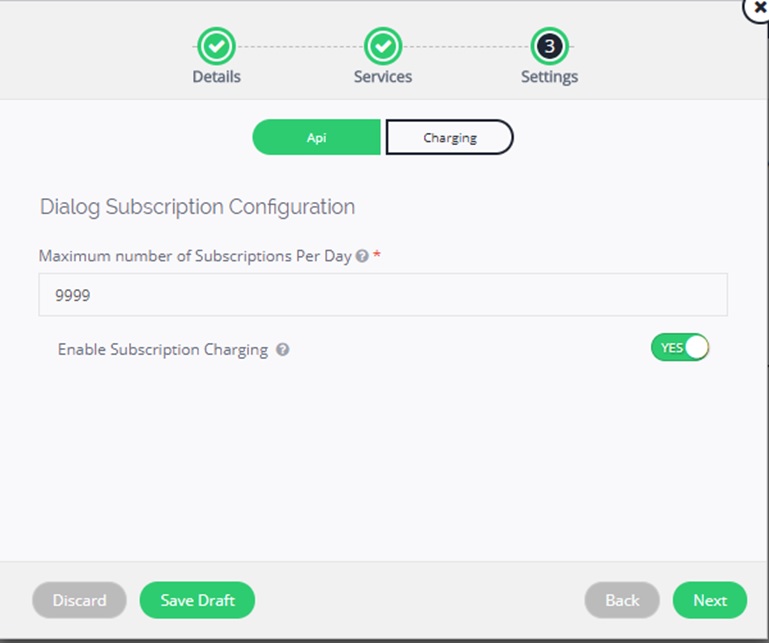
Select the maximum number of Subscriptions per day.
Press next to proceed to the next page.